In this post, I have created a beginner’s step by step guide and a tutorial for Buffer social media app to schedule tweets and messages. Buffer is a freemium social media management tool where you can schedule posts and messages in Twitter, Facebook profile, Facebook page, Facebook group, LinkedIn profile, LinkedIn page, App.net and Google+ page. Advantage of Buffer is that it uses a queue to schedule posts in social media and there are a lot of options to edit scheduled messages like add to the queue, share next in queue, share your message now, shuffle scheduled messages to a random order, switch to custom time, empty queue, change scheduled time and Switch to Buffer schedule and move a message to the top of the queue.
Below given are the steps by using which you can add or remove a social network in Buffer, change Time Zone Settings, change posting time, schedule tweets and messages in social networks, schedule suggestions, view social media analytics, select URL shorteners, change account settings, change email settings and post messages by email and create password and enable social sign in.
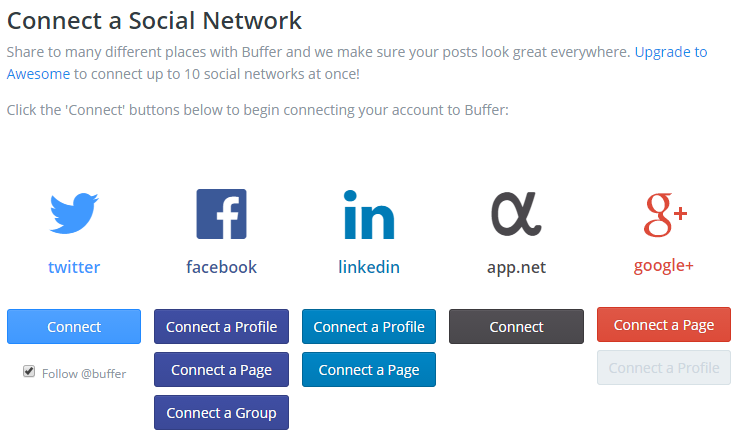
1) Add a social network in Buffer: To add a social network in Buffer, click on the Accounts button.

Then, add the social network. You can add Twitter, Facebook profile, Facebook page, Facebook group, LinkedIn profile, LinkedIn page, App.net and Google+ page.
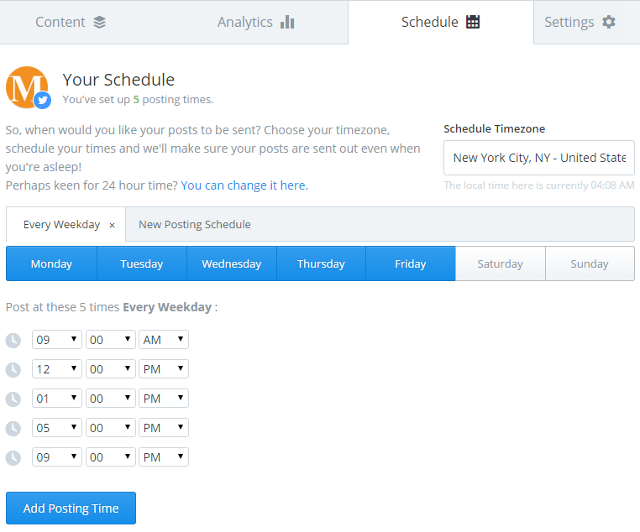
2) Change Time Zone Settings: To change time zone settings in Buffer, go to your Buffer dashboard. Click on Schedule tab. Enter the city where you are located under “Schedule Timezone”. Click on “Change all accounts to this timezone?” to change time zones for all your accounts.

3) Change posting time: To change posting time in Buffer, go to your Buffer dashboard. Click on Schedule tab. Select the days for which you want to post messages. For Example, I have selected the messages to be sent on weekdays, i.e. Monday to Friday.
Click on Add Posting Time button to add the posting time for these days. Edit the time as per your requirements. For Example, here, I have added 5 posting times on 9 am, 12 am, 1 pm, 5 pm and 9 pm.
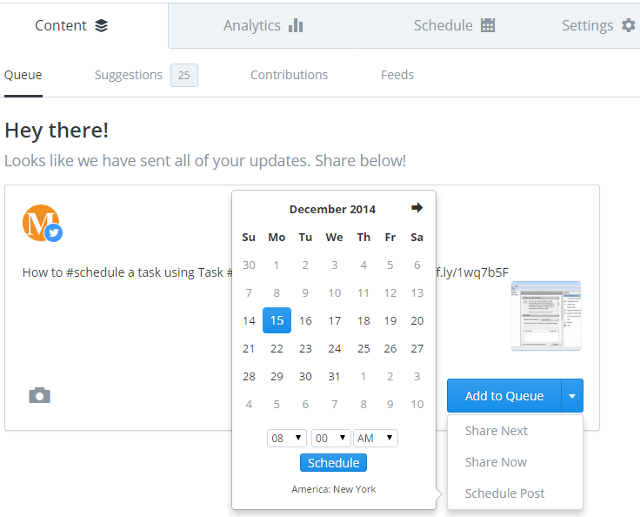
4) Schedule a tweet or a message in social networks: To schedule a tweet or a message in social networks, go to your Buffer dashboard. Click on Content tab. Then, click on Queue. Enter your tweet or message which you want to schedule. You have the option to add a picture along with your message. Links will be automatically shortened. You have the following scheduling options:
i) Add to Queue: If you select this option then the message will be added at the end of the queue. Messages will be sent at the posting time which you selected earlier.
ii) Share Next: If you select this option then the message will be added at the front of the queue.
iii) Share Now: If you select this option then the message be sent now.
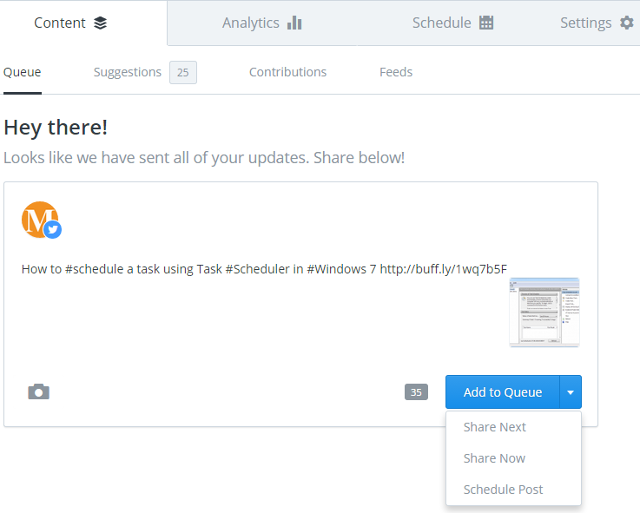
iv) Schedule Post: If you select this option then, you can schedule this message at any day and at any time as per your requirements. Select the date and time and click on the Schedule button.
5) Edit scheduled messages: To edit scheduled messages in Buffer, click on Content tab. Then, click on Queue. Hover over the message which you want to edit. You have the following options:
i) Delete: Click on Delete to delete your message.
ii) Edit: Click on Edit to edit your message.

iii) Move to Top: Click on Move to Top to move your message at the top of the queue.
iv) Share Now: Click on Share Now to share your message now.
v) Switch to custom time: To change scheduled time, hover over the time and then click on Switch to custom time.

Then, select any date and time for which you want to schedule the post.
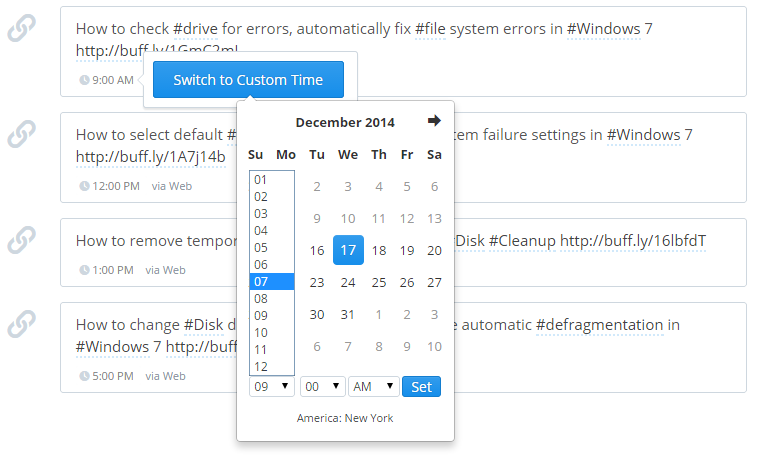
vi) Change scheduled time and Switch to Buffer schedule: For the messages for which you have already scheduled for custom time, hover over the time and then click on Change Time to edit scheduled time and click on Switch to Buffer schedule to add this message to the usual Buffer schedule.

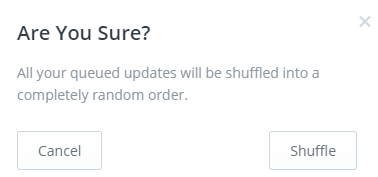
vii) Shuffle scheduled messages to a random order: To shuffle scheduled messages to a random order, click on Shuffle. Then, confirm the Shuffle.
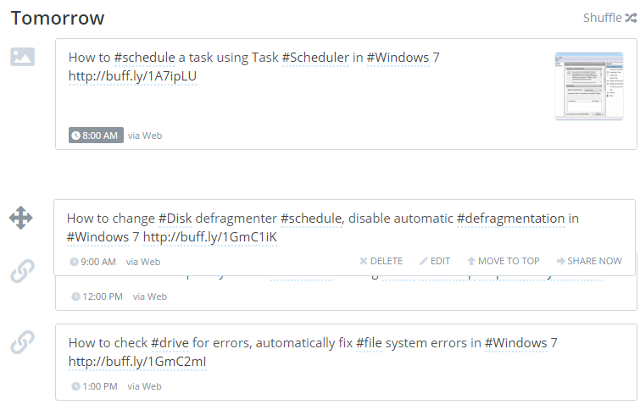
viii) Change order of scheduled messages: To change order of scheduled messages, simply drag and drop the messages.
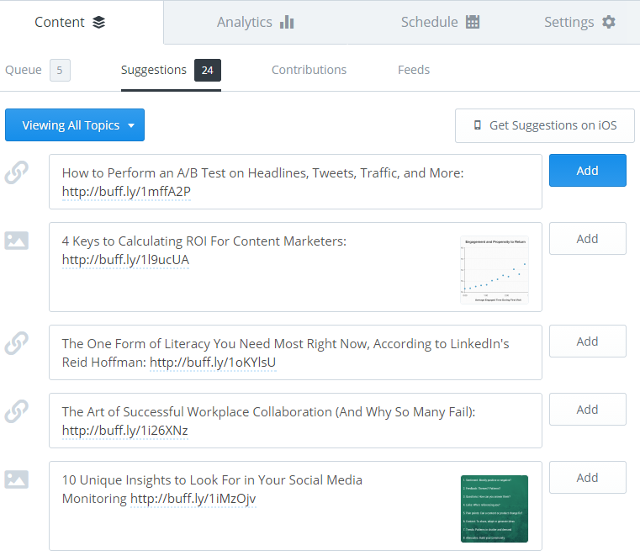
ix) Schedule suggestions: You can use this feature to schedule top messages created by other people. Click on Suggestions. From “Viewing All Topics” drop down menu, you can select the categories. Click on Add button to add a message to your queue.
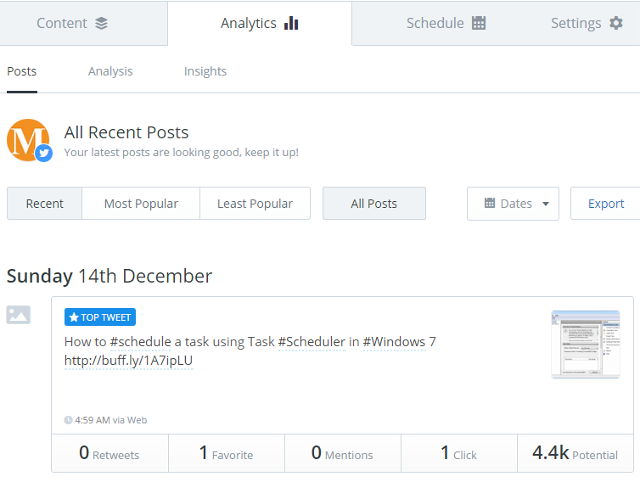
6) View social media analytics: To view social media analytics, click on Analytics tab. Here, you can view number of retweets, number of favorites, number of mentions and number of clicks for your top tweets and messages.
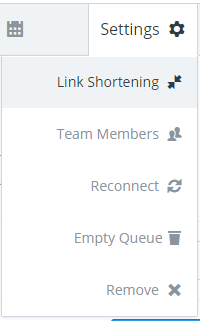
7) Select URL shorteners: To select URL shorteners, click on Settings tab and then click on Link Shortening.
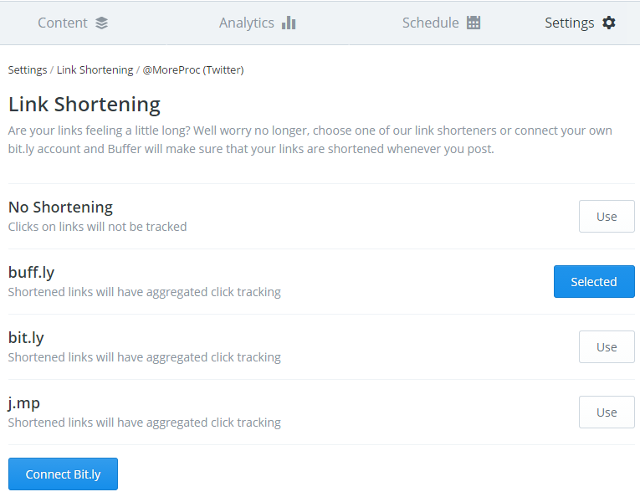
Click on “Use” button for “No Shortening” shortening to disable automatic shortening of URLs. You can also use buff.ly, bit.ly or j.mp URL shorteners to shorten long URLs. If you are not sure which URL shortener to use, you can read one of my posts where I have compared most popular URL shorteners.
8) Empty queue: To empty queue in Buffer, click on Settings tab and then click on Empty Queue. Then, confirm the action.

9) Remove a social media account: To remove a social media account from Buffer, click on Settings tab and then click on Remove. Then, confirm the action.

10) Change account settings: To change account settings, click on My Account. From here, you can change email notification settings, enable two-step login, create password, enable social sign in, install Chrome extension and enable or disable sounds.
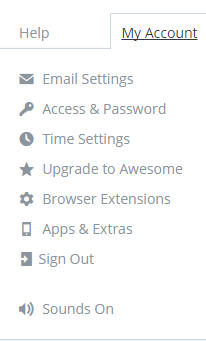
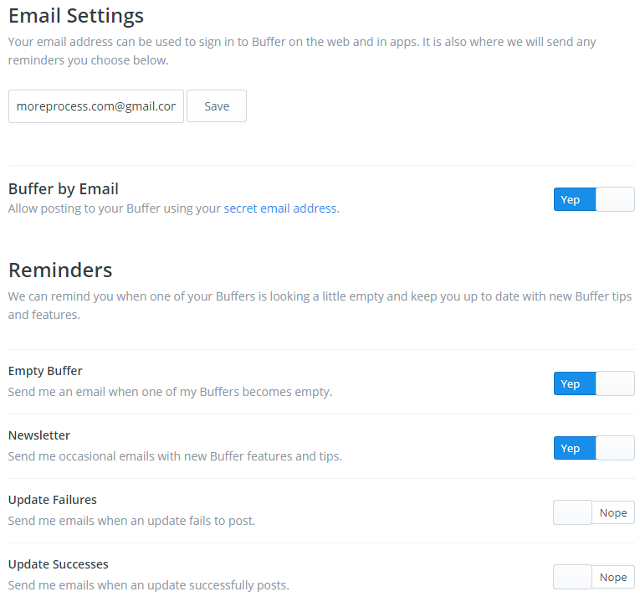
i) Change email settings and post messages by email: Click on Email Settings. Here, you can change the email notification settings. You can also enable Buffer by Email. By using this feature you can post tweets and messages directly by sending an email. Click on secret email address to get your email address to which you can send emails and post messages.
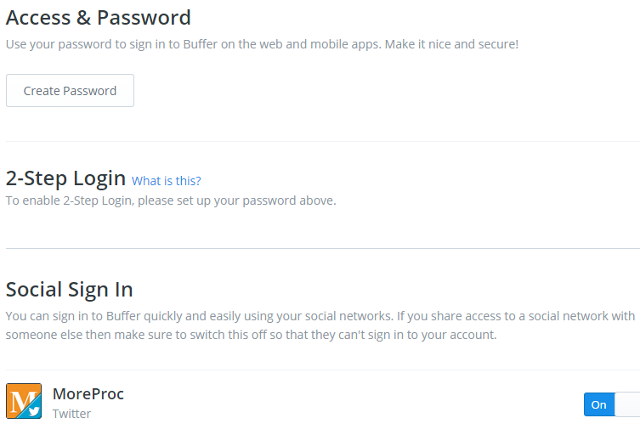
ii) Create password and enable social sign in: Click on Access & Password. Here, you can create a password for your Buffer account and enable two-step login. Also, you can enable or disable social sign in.
