Google Publisher markup (rel=”publisher”) is used for linking your Google+ business page to your blog. If you have a Google+ page then it is recommended by Google to link it to your WordPress blog by using rel=”publisher” markup tag. It is also useful for your visitors and provides them a link to follow your Google+ page from your blog. This tutorial is helpful for setting up Google Publisher markup in a WordPress blog.
Step-1: Create a link of your blog in your Google+ page
1) Go to your Google+ business page which you want to link to your blog.
2) Click on “About” menu at the top.
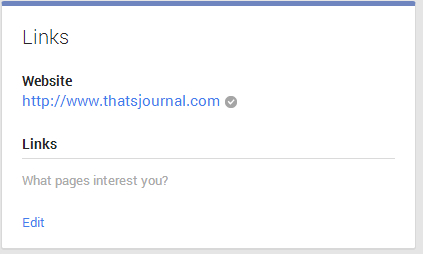
3) Click on “Edit” under “Links”.
4) Add your Website URL and click on “Save”. When you are done it will look like:

Step-2: Add a Google+ page link in your blog
1) You can add a simple link of your Google+ page in your blog’s homepage or sidebar with the format:
<a href=”https://plus.google.com/113793810740640168357″ rel=”publisher”>Follow us on Google+</a>
2) Instead of a simple link you can also add follow and share buttons, widgets, badges, and embedded posts. Go to: Google developers page, select a button or a badge. Generate, copy and paste the code in your blogs sidebar, footer or anywhere in the homepage.
Step-3: Verify if Google Publisher markup is set up correctly.
1) Go to: Structured Data Testing Tool
2) Under URL tab, enter the URL of any of your posts or your blog homepage: For example: https://www.thatsjournal.com Then, click on Preview.
3) If you have set up everything correctly, then you will see: “Publisher markup is verified for this page.”

You have now successfully enabled Google Publisher markup (rel=”publisher”) in your blog.