In this post, I will describe a social media management tool, MediaFunnel by using which you can add real-time social media tabs for your social media accounts in dashboard. From these tabs you can easily access all your social media channels from a single dashboard.
By using MediaFunnel, you can add team members based on user roles, assign tweets and social media post to team members, schedule and save tweets and messages, view scheduled posts in calendar, review social media posts by your team members, create social media alerts, monitor your brand in social networks and add signature for social media posts.
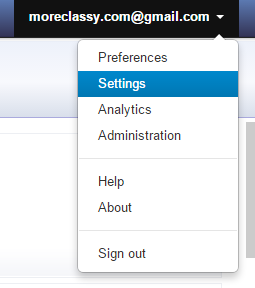
1) Add social media accounts: To add social media accounts in MediaFunnel click on Settings on the right side of your dashboard in account drop down menu.
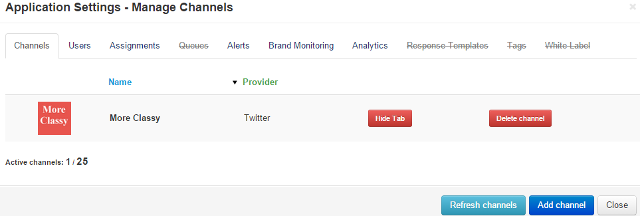
Go to Channels tab and click on Add Channel to add social media accounts.
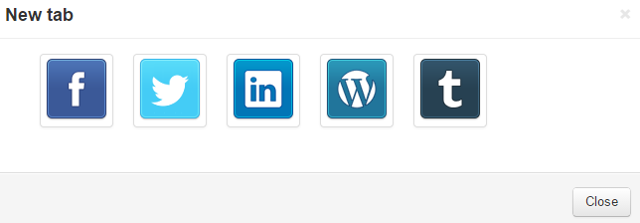
Then, authorize and add your social media accounts.
2) Add a team member: To add a team member to access your social media accounts and to post updates, click on Settings on the right side of your dashboard in account drop down menu. Go to Users tab and click on Add User.
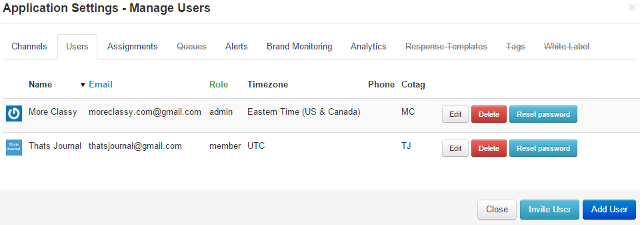
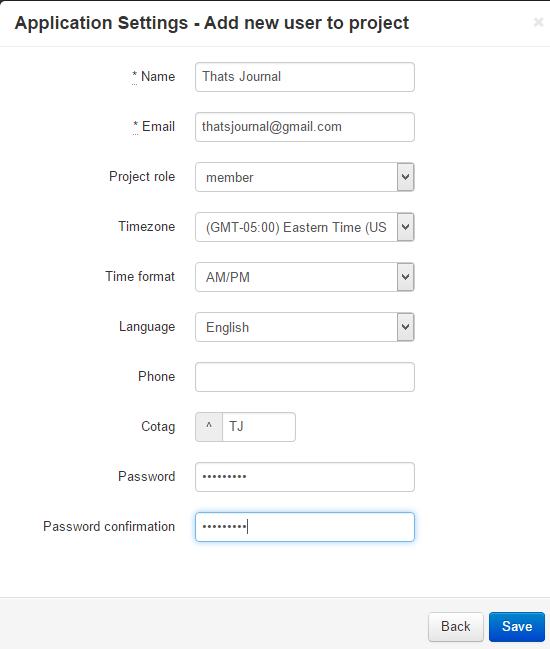
Then, add your team member. You can add team members based on user roles. You can add them as a member or as an administrator.
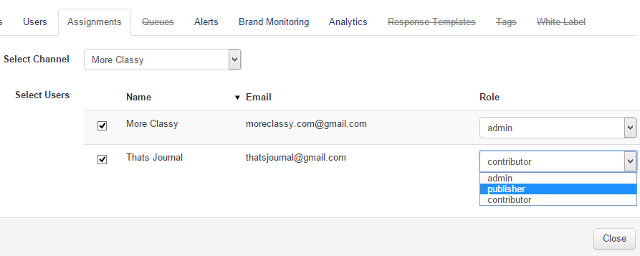
3) Edit user roles: You can assign the following user roles for your team members: Administrator, Publisher and Contributor. Administrators will have the complete control over your social media accounts, Publishers can review and post tweets and messages and Contributors can add posts in queue which administrators and publishers can post. To edit user roles, click on Settings on the right side of your dashboard in account drop down menu. Go to Assignments tab and edit user roles.
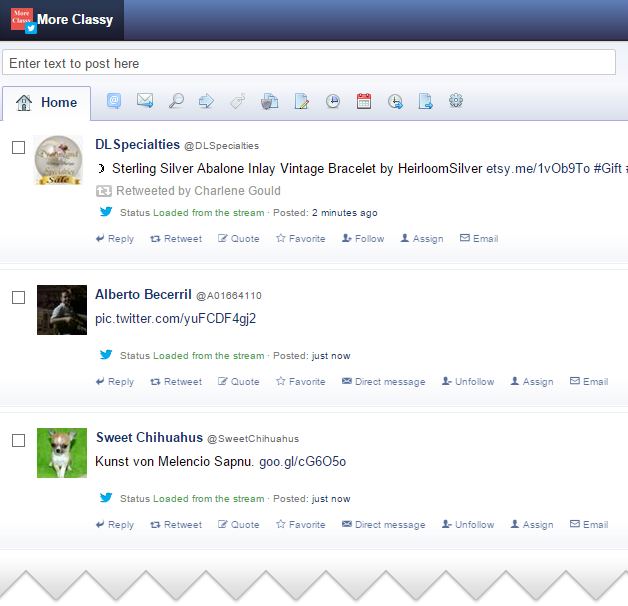
4) Real-time social media tabs in dashboard: After you have added your social media account you can add it as a real-time tab in your dashboard. You also have the option to hide or display social media tabs in your dashboard. Real-time tabs for Twitter displays home feed, mentions, and direct messages.
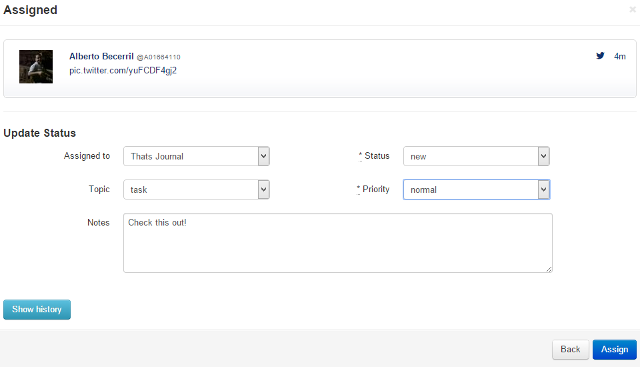
5) Assign tweets and social media post to team members: You can assign important tweets to your team members. Click on Assign for a tweet. Then, select a topic: task, problem, question, incident, select a status: new, open, pending, closed, select a priority: low, normal, high, urgent, add notes and select the team member to whom you want to assign the tweet. Click on Assign. You team member will receive an email notifying that a post has been assigned to them.
6) Schedule and save tweets and messages: To schedule and save tweets and messages, click on text field in the dashboard. Create your tweet. Then, you can save the tweet, post it now, or schedule the tweet at a later date. You also have the option to enable or disable the signature for the tweet.
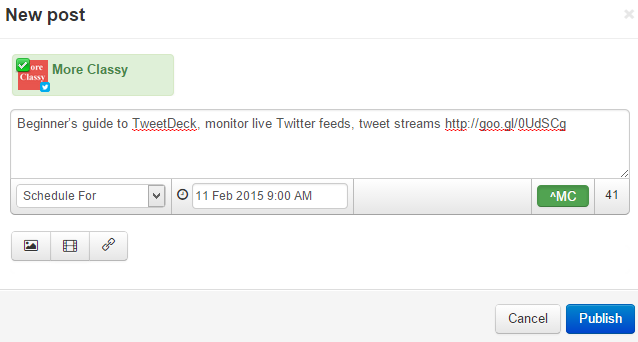
You can view Schedule messages and tweets from the Scheduled tab in your dashboard.
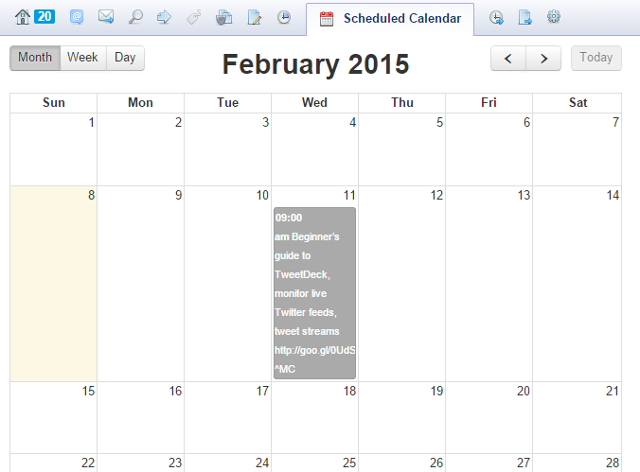
7) View scheduled posts in calendar: Click on Scheduled calendar tab to view scheduled posts in calendar. You can also drag and drop posts to reschedule them.
8) Review social media posts by your team members: Click on Review Queue tab. Here, you can moderate social media posts created by your team members.
9) Create social media alerts: To create social media alerts, click on Settings on the right side of your dashboard in account drop down menu. Go to Alerts tab. Click on New Alert button. You can create new alerts for direct message, mention or brand monitoring. Select the channel, user and interval for the alert. Click on Save.

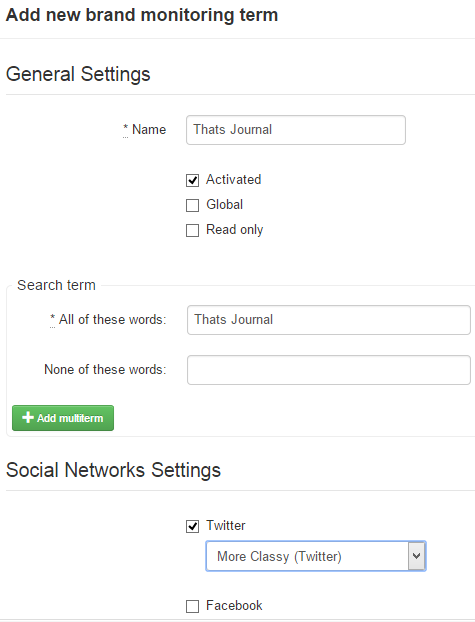
10) Monitor your brand: You can use this feature to monitor your brand. Click on Settings on the right side of your dashboard in account drop down menu. Go to Brand monitoring tab. Click on Add new brand monitoring term. Add search terms and click on Save. You can add any number of search terms by including and excluding them in your search. After you have added your brand monitoring terms, you can view analytics for it.
