This is a yet another article in HootSuite beginner’s guide series. Today, I will let you know how you can change the Account settings and Time Zone settings in HootSuite dashboard. Time Zone setting is an important setting in HootSuite, as it is this setting which will be used by HootSuite for scheduling your tweets and messages.
Follow the below given steps:
1) Login to your HootSuite account.
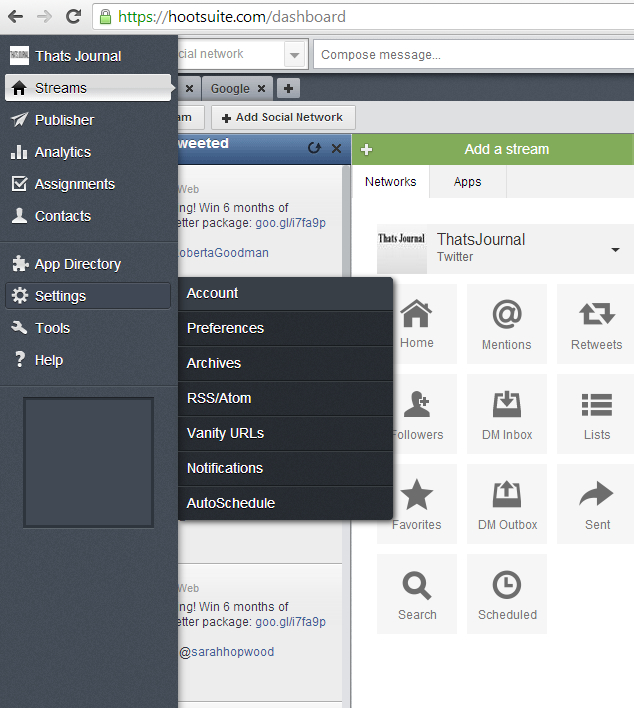
2) Go to: Settings –> Account in the left menu in the dashboard.

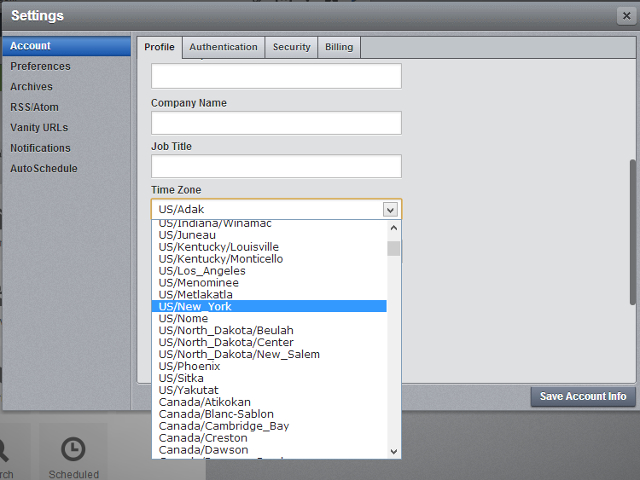
3) In the “Settings” dialog box, under “Profile” tab, you have the following options: Set up your profile image by using Gravatar, Enter Full name, initials, Bio/Description, Company Name, Job Title, social networking URLs for Twitter, Facebook, LinkedIn and Google+ and to change the account password.
Here, you also have the option to change the Time Zone settings. This Time Zone setting will be used by the HootSuite for scheduling your tweets and messages. To learn more about how to schedule messages in HootSuite, refer one of my posts.
