In this post I will discuss how you can easily change the fonts, font size, font color, background color, font weight and font height in WordPress.
In most of the premium WordPress themes, you can change font by visiting Appearance -> Customize in your WordPress dashboard. Then, click on Colors in the customizer. However, this depends on your theme. Some themes may not have the option to change fonts and background colors.
In that case, you can use this easy guide to change fonts and background colors in your WordPress blog. You can do that by editing simple HTML and CSS codes from Theme Editor.
Follow the below given steps to change fonts and background color in WordPress:
1) Select the text in your WordPress blog for which you want to change the font.
For Example,
I have selected the post text in WordPress.

2) Right click on the text and then click on Inspect.
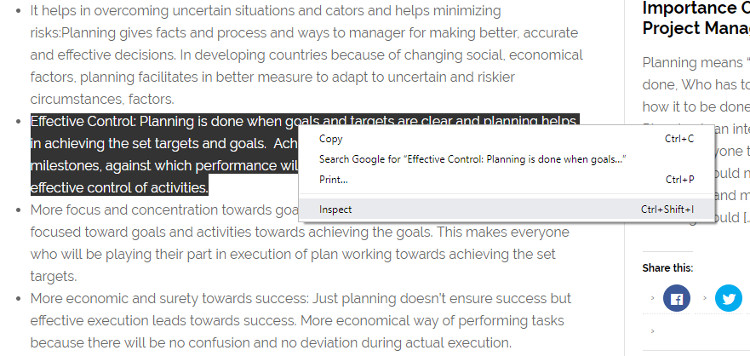
I am using Chrome browser here. Please note that for Mozilla Firefox you have to click on Inspect Element.
3) Now, scroll down in the Styles tab and find anything which says font size.
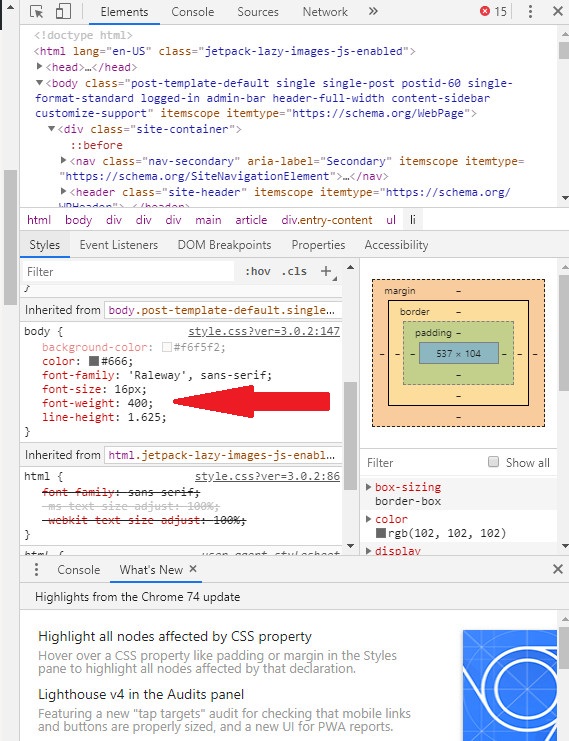
Now, clearly you can see that font CSS codes for font size and background color are under body section.
4) Now, go to Appearance -> Theme Editor in your WordPress dashboard.
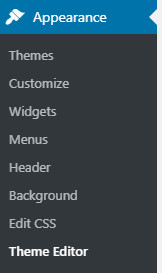
5) Open the Stylesheet (style.css) file. (This file will be loaded by default when you open Theme Editor).
6) Press Ctrl + F in the file and find body. You will find the same codes which are under body section. These codes will be typically under Typographical Elements.
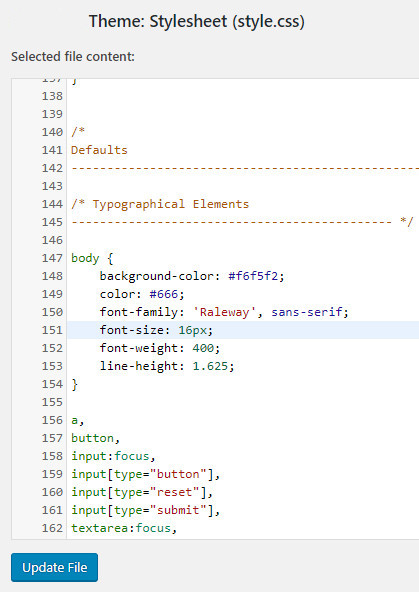
7) Here, you can easily change the background color as per your requirements and you can change font family, size, weight and height.
I will go ahead and make the text darker by changing the font weight to 600.
You can change the font and background color as per your requirements and then when you are done click on Update file.
That’s it. You have successfully changed the font and background color in your WordPress blog.
Note: After you click on Update file you might not see the changes on the website yet. You have to first clear the website cache and browser cache. You can easily clear the cache for whichever cache plugin you are using in your website. For Example, I have WP Super cache installed.
Method to clear cache in WP Super cache:
1) Go to WP Super Cache under Settings in your WordPress dashboard.
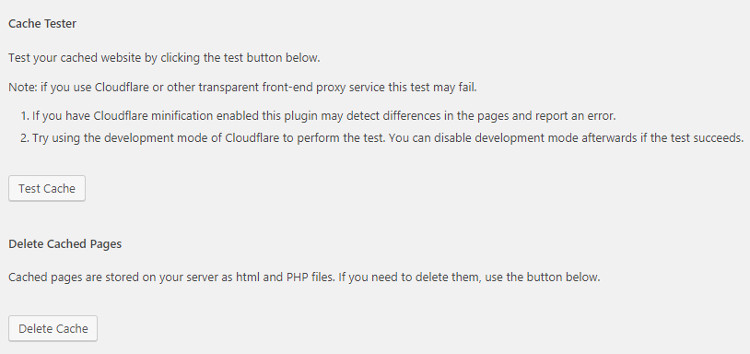
2) Click on Delete Cache under Delete Cached Pages.
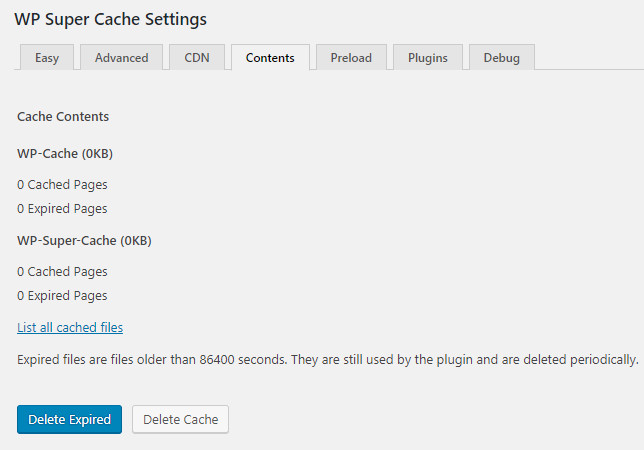
3) On the next page, juts to be sure click on Delete Expired button to delete expired files.
We have cleared the website cache. You can see if the changes are taking place in your website. If not, you have to clear the browser cache. I am using the Chrome browser and I will let you know the steps to delete the cache in Chrome.
Delete Browser cache for Chrome browser:
1) Click on three dot “Customize and control Google Chrome” round button on the far right side of the Chrome browser. Then, click on Settings button.

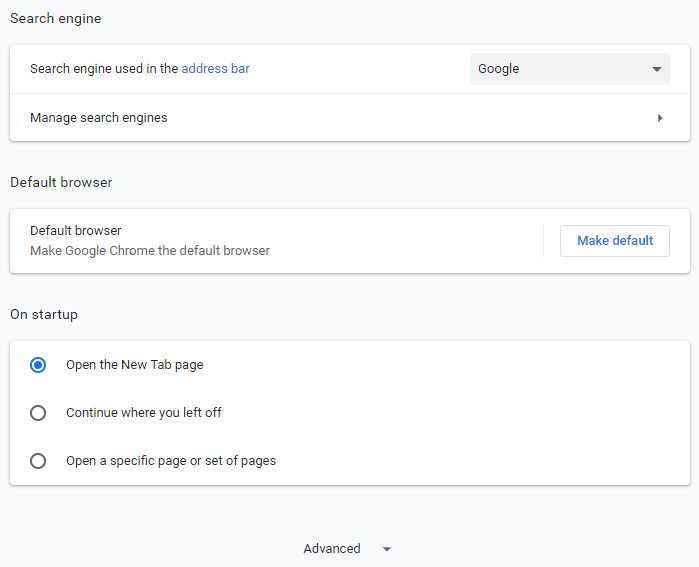
2) Scroll down to the bottom of the Settings page and then click on Advanced.
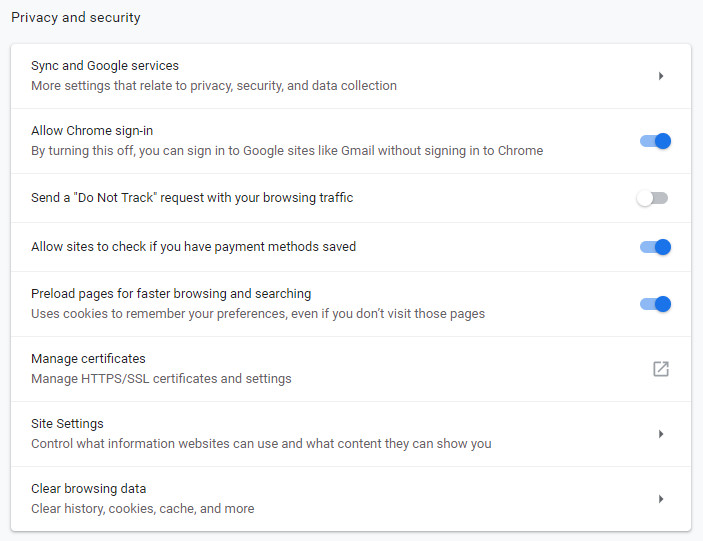
3) Under Privacy and security, click on Clear browsing data.
4) Click on Clear Data button in the pop up.
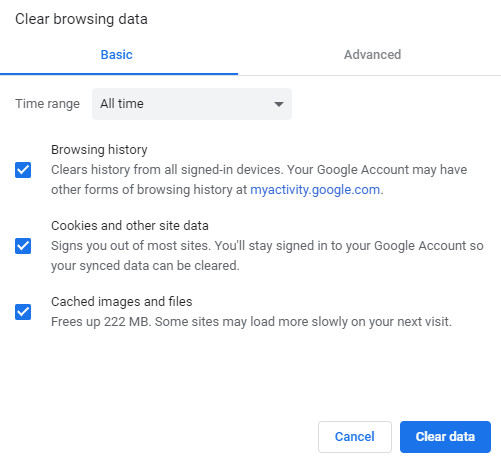
Wait for few seconds while Google Chrome clears the browsing data.
Then, refresh your website to see that the changes have been made.
I hope by using this guide you can easily change font and background color in your WordPress blog.